Learn to Quilt: Basting
This post is part of my Learn to Quilt series. You can find all related posts {here}.
Basting is my least-favorite quilting step. For me, it is the most tedious and least rewarding but you just can’t avoid it. Let’s talk through the different methods and some ways to make the dreaded task a little easier. No matter which method you use, your basic set up is the same: Backing + Batting + Quilt Top = Quilt Sandwich. Yep, that’s what it’s called – a quilt sandwich. I prefer to think of mine as ice cream sandwiches. Mmmm.
There are several different ways to baste – spray adhesive, fusible batting, needle and thread, pin basting, and long-arm basting.
SPRAY BASTING
You can actually buy some stuff in a can to baste your quilts. It looks like hair spray and smells much worse. This method is good for smaller things like table runners and mini quilts. My personal experience is that it makes a big mess when used on a quilt larger than crib size. It is handy to have on hand, though – I use it for quilted pillows.
FUSIBLE BATTING
This is batting that you iron onto your quilt back and top. I’ve never used it but several of my friends swear by it. For me, it’s about economical and convenient and this method doesn’t do it. Fusible batting doesn’t come in a bolt and it costs more than regular batting so I don’t see myself converting to a fusible girl. Also beware that this stuff fuses in heat so don’t store it in your attic if you live somewhere that gets hideously hot (like Texas).
NEEDLE AND THREAD BASTING
It’s just what is sounds like…you use needle and thread to make big running stitches across your quilt sandwich, Sound tedious and crazy, right? Why would you ever do that? It makes sense to baste with needle and thread when you’re going to hand quilt. No pins to get in the way of your frame. Needle and thread basting is actually not as slow as it seems but you do need a decent set-up…it’s easier to do on a table top than on the floor. Use clamps to affix your quilt layers to the table.
LONG-ARM “BASTING”
Long-arm quilters don’t need to do any basting – they just roll the three layers together on the frame (You can see how that happens here.) Odds are you don’t have a long arm and aren’t going to buy one, so this is good news for you: most long-arm quilters offer basting services They will load your quilt on their frame and run some basting stitches though it for a fee. Then you can do the quilting by hand or machine. Some use dissolving thread so the basting stitches wash away when you wash your finished quilt. My friend Michelle at Urban Spools is basting one of mine as I type.
PIN BASTING
Blech. It’s still the worst but it has gotten easier since a reader told me about a different way (besides taping to the floor). Here’s what you will need:
-
- Your three quilt layers with the backing and batting at least 3 to 4 inches larger than the quilt top on all sides
- {This video} is immensely helpful for this process.
- 2 – 1×4 pieces of lumber a good 10 inches longer than your quilt (sand before using)
- Spray starch
- Quilter’s Safety Pins (get more than one package)
- Kwik Klips tool
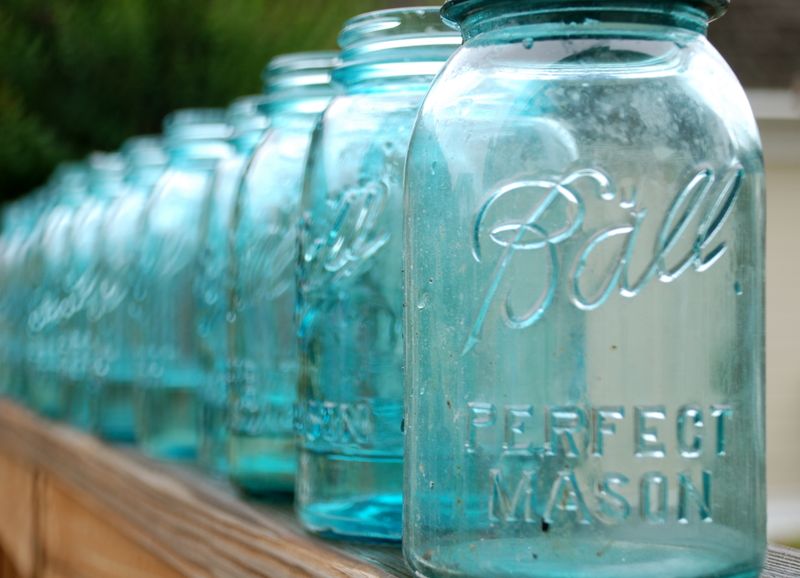
- A cute jar to store your safety pins and Kwik Klips. I like these blue mason jars:
1. Stay stitch about a 1/4″ away from the edge of your quilt top, all the way around. This will keep things from going wonky. If you are not familiar with stay stitching, it just means that you do a regular stitch along the edge of fabric to prevent stretching on unfinished edges. Do this even if you send your quilt top to a long arm quilter. I am a bad girl and often skip this, but I’m trying to mend my ways.
2. Liberally starch and press your quilt top and your backing. I mean it. Lots of starch. Don’t be shy. If your background fabric is dark, you can use the no residue starch so you don’t get any white marks (although it all washes out anyway).
3. Put an interesting show on the TV that you don’t mind only listening to because you won’t be see it all that much.
4. Spread your quilt backing on the floor (or table top if you have one large enough) right side down. Smooth out about a 1 foot high x width of quilt section of the backing and set a 1×4 across the edge. Roll the backing onto the board smoothing as you go.
5. Repeat the above with your quilt top, starting with top right side up. You should now have your backing and your quilt top rolled up square and smooth on the boards.
6. Set the board with your backing on the table/floor so that the rolled part is on top and the loose fabric flap is underneath. (Kinda like the way most men put toilet paper on the holder – WRONG!) You should able to flip the board over and away from you, releasing the backing fabric as you go. Unroll a 1 foot section of your backing and place the batting on top. Smooth it out.
7. Set your quilt top board on top of the backing/batting you’ve exposed, but offset if by 2 or 3 inches. Repeat the same process as the batting, unrolling and smoothing until you can set the quilt board on top of the batting board.
8. Pin or thread paste the smooth area. You can use a third board to weight down the edges if needed. Use your Kwik Klip tool to close the safety pins. Repeat the unrolling and smooothing process until you have the entire quilt basted.
9. When you’re finished, trim any excess batting and/or backing. I trim mine down to about 2 inches from the edge of the quilt top at this point. Use scissors with a spring like these. Save your extra backing fabric for your basket of string scraps! You don’t have to trim and you might not need to if you were careful about measuring your backing/batting, but I have sometimes gotten in a hurry and quilted a bit of extra backing to the back of my quilt. The edges fold under so easily and before you know it you have a foot of quilting to unpick.
That’s it! Come back on Monday for Lesson 9 – Sample Quilt: Quilting.