Exploring the Versatility and Benefits of Ratine Fabric
This article delves into the charming world of unique textiles that blend sophistication with practicality. The interplay of materials has

Shrimp and grits is one of my favorite things to eat and to cook. It’s cheesy, salty, spicy, seafood-y goodness.

The process of making these fiddly little Farmer’s Wife blocks is so much fun. I spent a couple of hours

Writing this post has brought me some clarity on how I became a non-blogger (someone who has a blog but

07 Feb It feels like I never get to sew these days but when I look back at my Instagram
This article delves into the charming world of unique textiles that blend sophistication with practicality. The interplay of materials has
That is how the weather man described the weather we’ll be experiencing tomorrow – snowmaggedon. After four snow days last
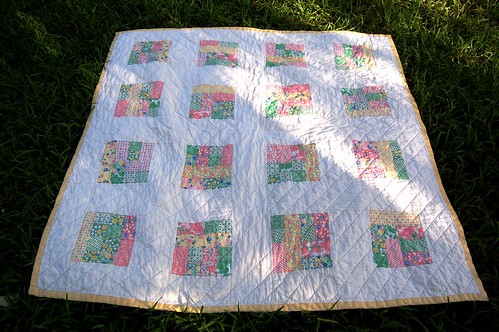
I don’t know why it took me so long to finish this quilt! I think I was mesmerized by the
Begin with precise measurements of your area to determine the amount of material needed. Select boards that vary in width