Tutorial: Scrappy Stars Hexie Pillow
I have a fun tutorial today as part of the Pillow Collective hosted by Amy Ellis over at Amy’s Creative
Read More
I have a fun tutorial today as part of the Pillow Collective hosted by Amy Ellis over at Amy’s Creative
Read More
Are you still wrapping presents?! Don’t feel bad. I usually am, too, but this year I seem to be ahead
Read More
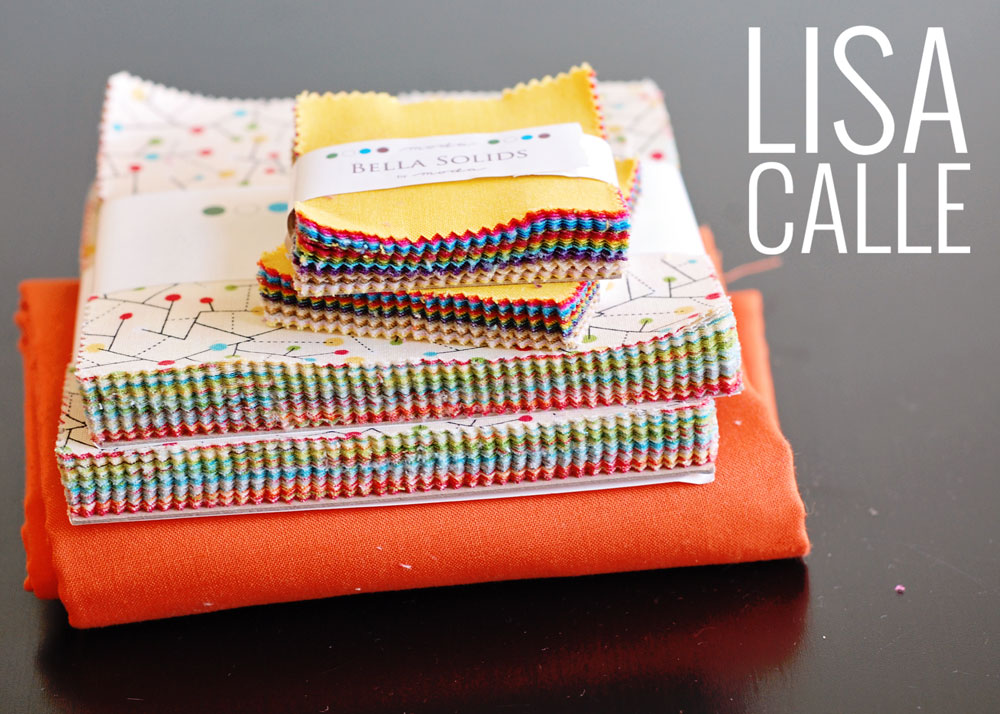
I have a SUPER SIMPLE tutorial on the Moda Bake Shop today. That cute little fabric bundle above was created
Read More
{If you’re here for the Classic Modern Quilts blog tour, hop down to this post} These simple napkins are the
Read More
This post is part of my Learn to Quilt series. You can find all related posts {here}. Quilting is the
Read More
This post is part of my Learn to Quilt series. You can find all related posts {here}. Basting is my
Read More
This post is part of my Learn to Quilt series. You can find all related posts {here}. Today I’m back
Read More
A few weeks ago I shared a tip for piecing half square triangles (HSTs) without marking. I have another time-saving
Read More
This post is part of my Learn to Quilt series. You can find all related posts {here}. Start {here} if
Read More
My latest project is on the Moda Bake Shop today. It’s called Color Pop Pillow and its a modern disappearing
Read MoreIn the ever-evolving realm of attire, certain years emerge as benchmarks, reflecting the zeitgeist of their time. A remarkable year
This baby quilt was made with the scraps from my Snippets baby blocks (which I am working on in earnest
Today is visit your local quilt shop (LQS) day. My LQS is a contemporary shop called Quilter’s Connection. They used
Consider incorporating natural elements like gourds and acorns into your seasonal arrangements. Arrange them creatively in shallow bowls or use